
JON SNOW BUT MAKE IT FASHION
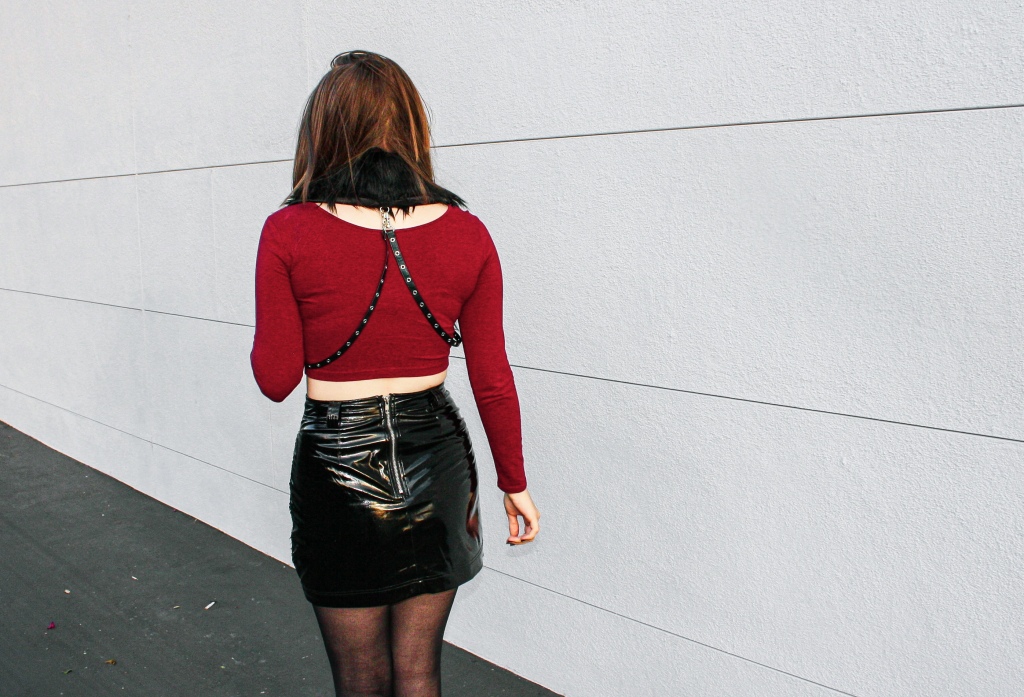
That’s the main idea I ran with for this latest accessory fresh off the line (read: my dining room table) for winter. It’s part scarf, part shawl – with a hint of steampunk, meets early 2000s Tripp pants, meets…those IKEA rug capes that Jon & his Night’s Watch bros donned over at The Wall in Game of Thrones.

Perhaps a combo you never would have dreamed, but here we are! And it’s amazing.
Much like our chain cape necklaces, I’m all about the subtle, industrial-chic accessories. Sure, jewelry is cool, but can it turn plain shirts, sweaters & more into whole new statement pieces? Not so much.
So this is one that truly delivers.
Another little confession time tidbit for ya: despite trying & trying (& trying & trying…), I’m part of the 0.1% who never could fully get onboard with the whole GOT obsession. BLASPHEMY some might say. Believe me, I’ve heard it. Although hype wars aside, there’s no denying some of the fashion was pretty on point.
Especially those incredibly repurposed, super thrifty, IKEA rug capes.
Snaps for you, HBO.
// WHAT YOU NEED //
+ 1/3 yard of faux fur fabric
+ 1/3 yard of lining fabric (poly-satin works great)
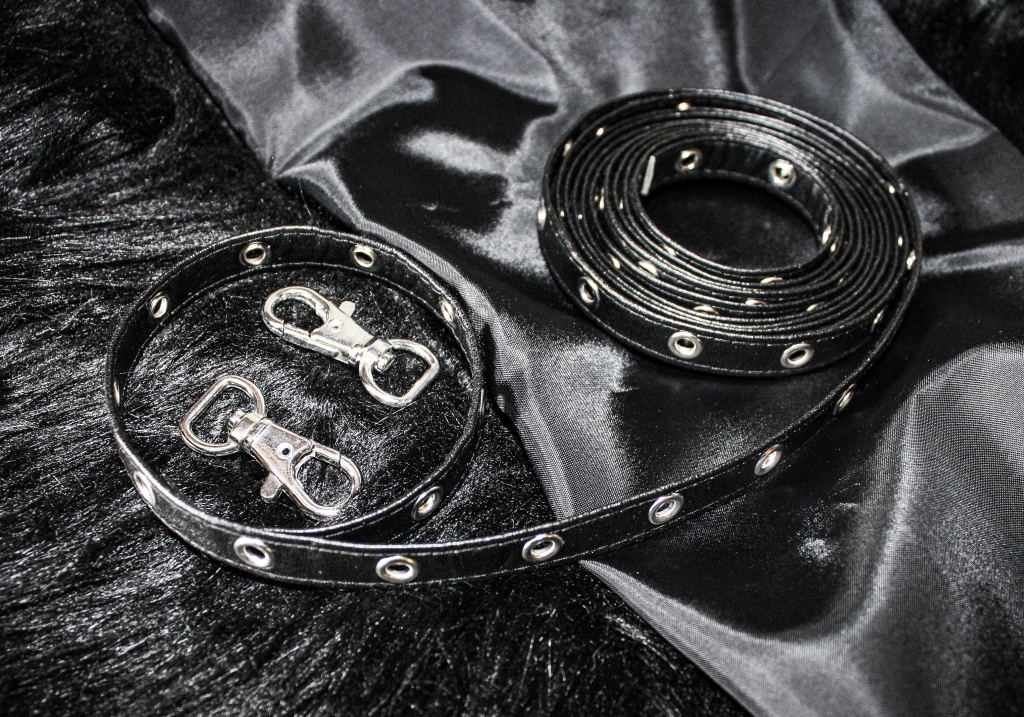
+ Two pieces of 1/2” grommet/eyelet tape, each cut 18 inches long (adjusted to your own torso measurements, if needed)
+ Two 1/2” swivel hooks & one matching D-ring
+ One 3” piece of black elastic (1/2” wide)
+ Needle & heavy-duty thread
+ Sewing pins
// STEPS //
++ Cut your faux fur into a strip approximately 40 inches long by 6.5 inches wide (NOTE: unless you’re in the market for a fur storm, push the pile to the sides as you make small snips down the middle of the split to minimize shedding).
++ Cut/round off the top corners of the fur so its final shape matches the graphic below (adjusting to your own measurements, if needed).

((hopefully my precious little graphic isn’t too confusing!))
++ Flip the fur over so that the wrong side is facing up. Lay the lining fabric on top & begin pinning it to the fur, leaving one to two extra inches of lining sticking out past the edges.
++ Trim off any excess lining fabric beyond those one to two extra inches, remove the pins & flip both of your fabric pieces over so that the right sides are facing each other.
++ Re-pin the two fabrics together & make sure to keep all faux fur strands around the edges tucked inside. That way, we can fluff it all out later, as opposed to it getting stuck inside the stitches.
++ Fold the strip of elastic in half, stick it through the D-ring & fold in half again. You should now have four layers total with the D-ring sandwiched in the middle.
++ Pin the elastic/D-ring into place (again, check out the graphic) so that it will stick out of the back once we turn the finished scarf right-side out.
++ Use a sewing machine to sew along the two long edges, leaving the curved ends un-sewn for now (this helps prevent the lining from sliding around & getting mind-numbingly messed up). Remember to keep the fur strands tucked in as you go.
++ Sew along the edge of one of the rounded ends to close it up, then flip the scarf right-side out. Ensure all looks good & if so, carefully hand-stitch the other end closed.
++ Fold one piece of the grommet tape around the swivel hook and straight stitch it into place. Clip the swivel hook onto the D-ring & put on the scarf. Follow the grommet tape (making sure it doesn’t twist) to the outer edge of one of the scarf’s ends & pin it wherever feels most comfortable to you.
++ Straight stitch (or hand-stitch) the tape into place & repeat for the other grommet tape/swivel hook set on the other side.


Pretty please share if there’s something crazy you’ve ever repurposed into gold!
And in the meantime – stay warm, frost kittens…
xxAA
 THE 2020 SUMMER GOTH FASHION EDIT
 5 KEY TIPS FOR HOW TO WEAR A BERET (WITHOUT LOOKING LIKE A PSYCHO)
 MY CHEMICAL ROMANCE FINALLY ANNOUNCED THEIR COMEBACK TOUR – NOW, LET’S DISSECT WTH WE WENT THROUGH TO GET HERE
 HOW TO GET RID OF SKARSGARD-LEVEL UNDER-EYE CIRCLES? PARSLEY EYE MASKS!
Leave a Reply